DESIGN THINKING
7 handpicked tips and tricks for design workshops
How to engage your team even more and prevent them from accidentally ruining your workshop
1. Sandbox canvas
Workshop tools are often targeted at customers (designers, researchers, and business consultants who pay for subscriptions) and don’t always serve end-users who aren’t necessarily computer-literate or non-disabled. Tool producers tend to expose features, whereas 90% of the time, participants only need to type on sticky notes.

As a facilitator, you don’t want to waste 20–30 minutes of precious workshop time calming down embarrassed participants and explaining the technical stuff. Then why not create a sandbox canvas and share it ahead of the workshop? You create it once per tool (FigJam, Whimsical, Miro, Mural, etc.) and can use it repeatedly.

Why sandbox canvases are useful:
- Unconfident people can get prepared and avoid the embarrassment of being the only noob on a team.
- People who use assistive technology will check if the tool works for them, and you’ll avoid the embarrassment of being non-inclusive.
- You will get fewer questions from the team about using the tool, hence more time for the actual workshop topic.

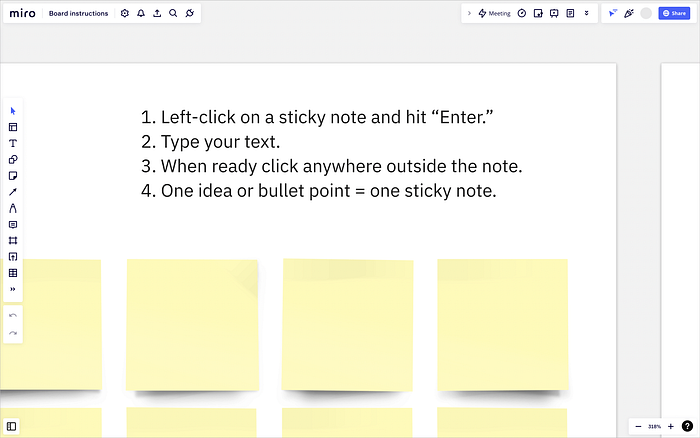
2. Contextual “how-to” tips
Not everyone will have enough time and motivation to open the sandbox canvas; as a result, these people might impose a substantial threat to your flawless workshop agenda. So, another way to ensure the fastest switch from an intro to the actual topic is “how-to” instructions right near the expected input from participants.

I always wanted to minimize the “tool pressure” on newbies and not tech-savvy people, hence the focus on the simplest actions like typing on already created sticky notes. If someone was able to move their notes to a relevant canvas section — great, but for the rest of the participants, it was not required. They only had to type what was on their mind.
The reasons to use such instructions are similar to why you might want to create a sandbox canvas; however, they are placed before the team’s very eyes, thus impossible to overlook.
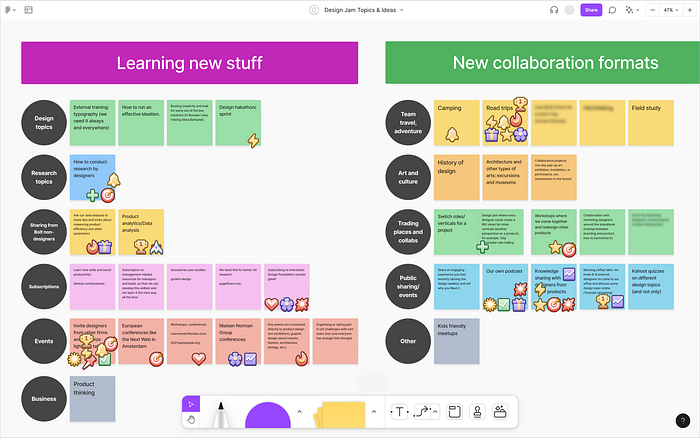
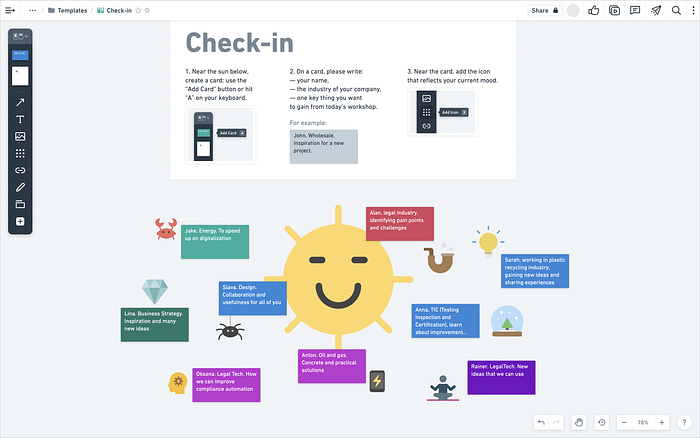
3. Icons + emojis = fun
Online workshops often feel more official. Everyone sits glued to a monitor and tries to figure out how everything works; not much space is left for fun here. You don’t see people’s emotions. Jokes and discussions are spoilt by the annoying Zoom delay. So, you have to find alternative means of keeping the team’s spirit high.
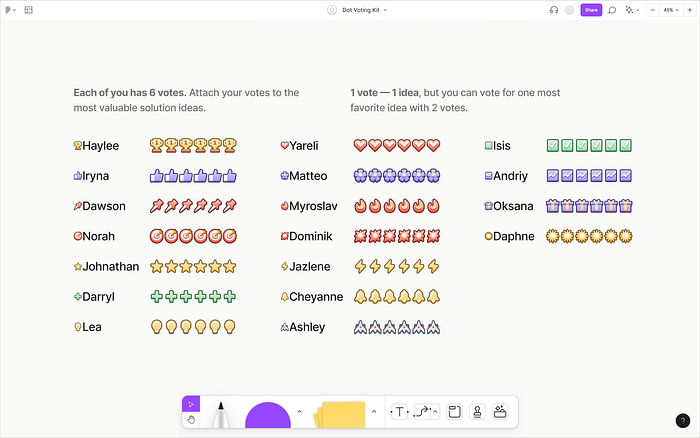
Icons and emojis come in handy here, namely in dot voting. Why employ dull dots if you can use individual characters — either random or based on what you know about each team member? An additional benefit is that you can track back to who voted for what (of course, unless your team has trust issues, and you’d better opt for anonymity).
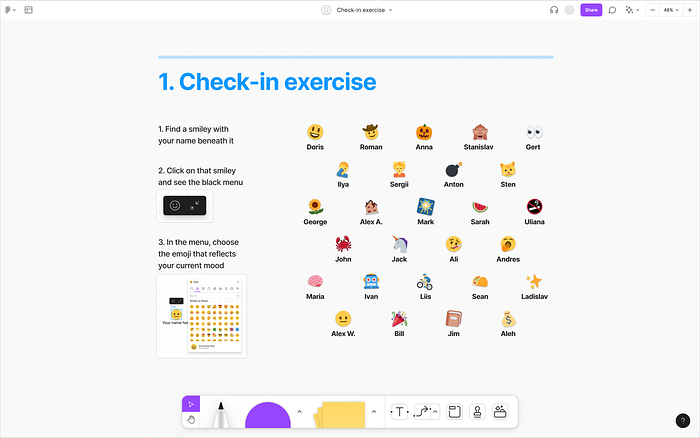
Another great use of emojis and icons is for a check-in exercise. Ask participants to choose an emoji that reflects their mood at the beginning of a workshop or, let’s say, illustrates a perfect workshop outcome. It will give you a flavor of the team’s expectations; besides, it’s a fantastic filler activity while waiting for latecomers.
Emojis and icons are quite common for workshopping tools and can be either embedded or go as a plugin.
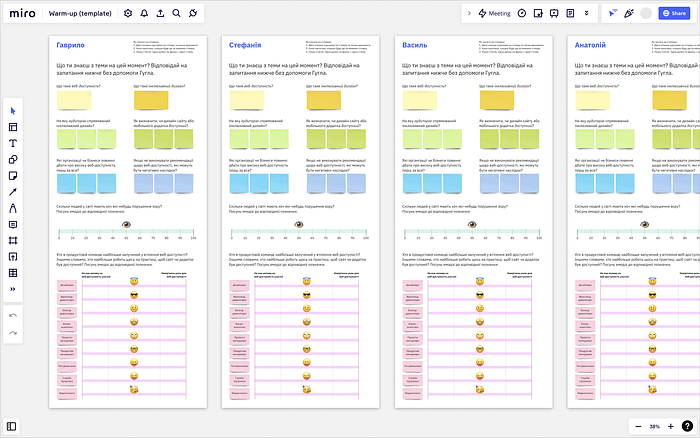
Do you know what adds a little razzle-dazzle to workshopping? Sliders! Yes, handmade sliders with emojis instead of conventional thumbs. For example, I used them to get acquainted with the students of the “Inclusive Web Design” course; I estimated students’ awareness of the topic and adjusted the material accordingly.
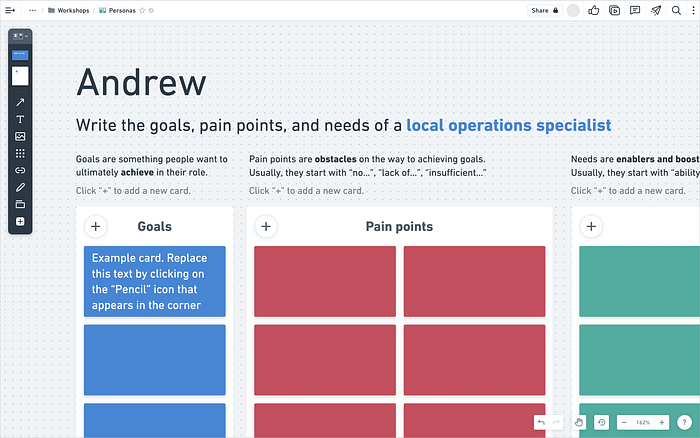
4. Input examples
I don’t know why, but when it comes to journey mapping, people always try to conceal their own ideas as “user pain points.” And there are lots of other examples when participants type not exactly what you hope to extract from their expert brains. In most cases, this is not intended: people just aren’t used to thinking in workshop categories.
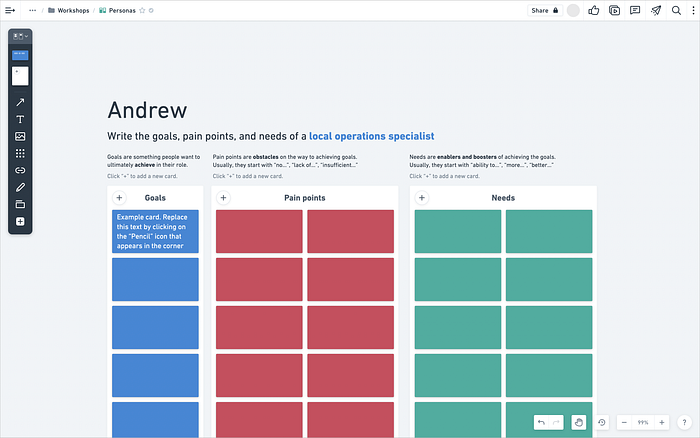
What has helped me a lot is content instructions that explicitly frame the expected input from participants, for instance:
- information type (pain point, solution idea, research question);
- input size (concise or detailed; a keyword or full sentence);
- particular formula (how might we…; if I had a magic wand…).
By the way, content recommendations frequently accompany tool-related “how to” tips because they both should be contextual — right where people are supposed to contribute stuff.
5. Notes on the side
Sending useful information ahead of a workshop is great, but do you really think everyone is going to read it — in advance?! My job has taught me to be extremely skeptical about the human eagerness to do homework (and I’m the first person in line to skip it).
The best thing you can make people grasp is what you present yourself — offline or online. So, when understanding the context is essential for a workshop’s success, I add the basic facts to the canvas itself.
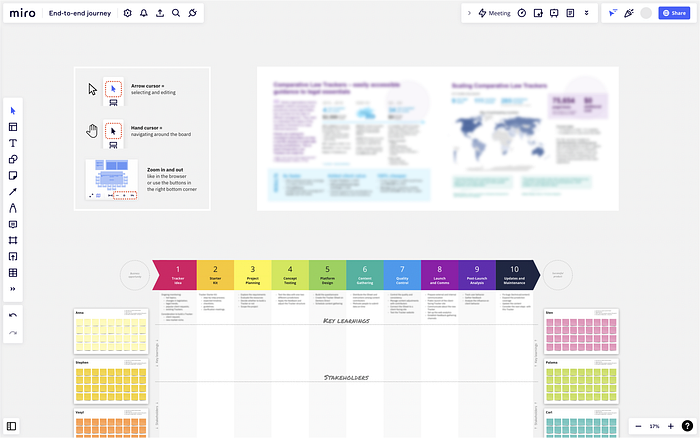
It can be something very specific to the workshop subject or more general industry facts that can help people think in the right direction.

Information that you can add to the canvas:
- a high-level diagram of the full process if you’ll focus on its part;
- key UX research insights if you’ll discuss users or customers without them being present at a workshop;
- a reminder of previous activities if this is a series of workshops, etc.
6. Pre-workshop interviews
A popular misconception about design workshops is that they are off-the-shelf collaboration formats that will 100% boost team creativity. The truth is they aren’t. There is no “Design Thinking” supermarket with everything you need. The success of a workshop depends on a fragile balance between your preparation as a facilitator and hardly predictable human behavior and group dynamics.
An effective 2-hour workshop (especially for senior management) needs days of preparation and many one-on-one conversations before and after the workshop itself. Otherwise, it will be a spectacle of collective brainstorming, the results of which will be forgotten or overridden with totally different decisions the next day.

So, what I always do before decisive workshops is a series of one-on-one talks with the key stakeholders whose input or the absence of buy-in may accidentally ruin my plan.
Why pre-workshop interviews are essential:
- Opinion/info reconnaissance. Nothing annoys workshop participants more than asking them to contribute something they’ve already shared, learned, or discussed. If they see an empty canvas with labels that correspond to known facts, the workshop will be perceived as unnecessary. So, it’s vital to gather preliminary information in advance and focus on what’s unknown or uncertain.
- Check for destructive participants. Interviews are a safe way to detect potential threats to your plan. Sometimes great experts simply don’t know how to behave in a workshop or have a prejudice towards the format or team members. So, you can either explain the workshop idea to them or revise the workshop itself.
- Methodology check. Listening to the participants of an upcoming workshop, you can see if the framework you use matches their perception and way of thinking, in other words, if they can think in the terms and categories you’ve chosen.
7. Make a canvas copy before the workshop
Workshop participants will surely tear your canvas down so that you won’t be able to reuse it again. So, it’s always great to have templates of frequently used canvases, for example, for retrospective or user journey mapping. However, I often opt for custom canvases that better fit my team’s needs but are hard to templatize.
That’s why I make copies of those canvases. Sounds like an obvious thing, but it took me some time to start doing it.
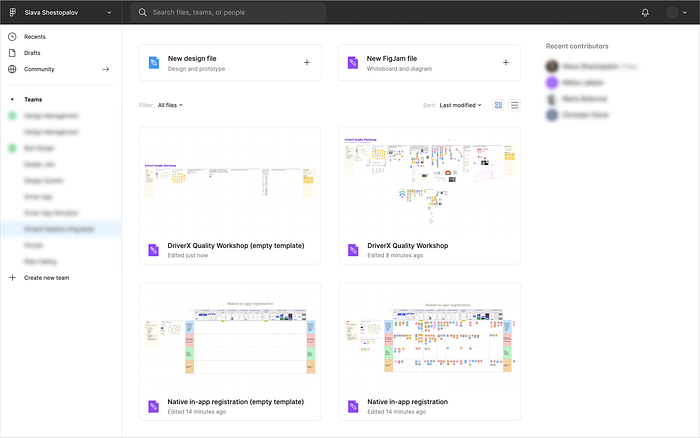
Why create empty canvas copies:
- You can reuse canvas elements, especially personalized, named ones (check-in exercises, sets of sticky notes for participants, etc.) if your team members stay the same.
- Canvas copies help you create “before/after” case studies and explain workshops to stakeholders in the company.
- If someone accidentally deletes or breaks something in a canvas, you’ll have a “donor canvas” to make a repair.
- You can easily let your colleagues steal your canvas, while it shouldn’t necessarily be a universal template.

